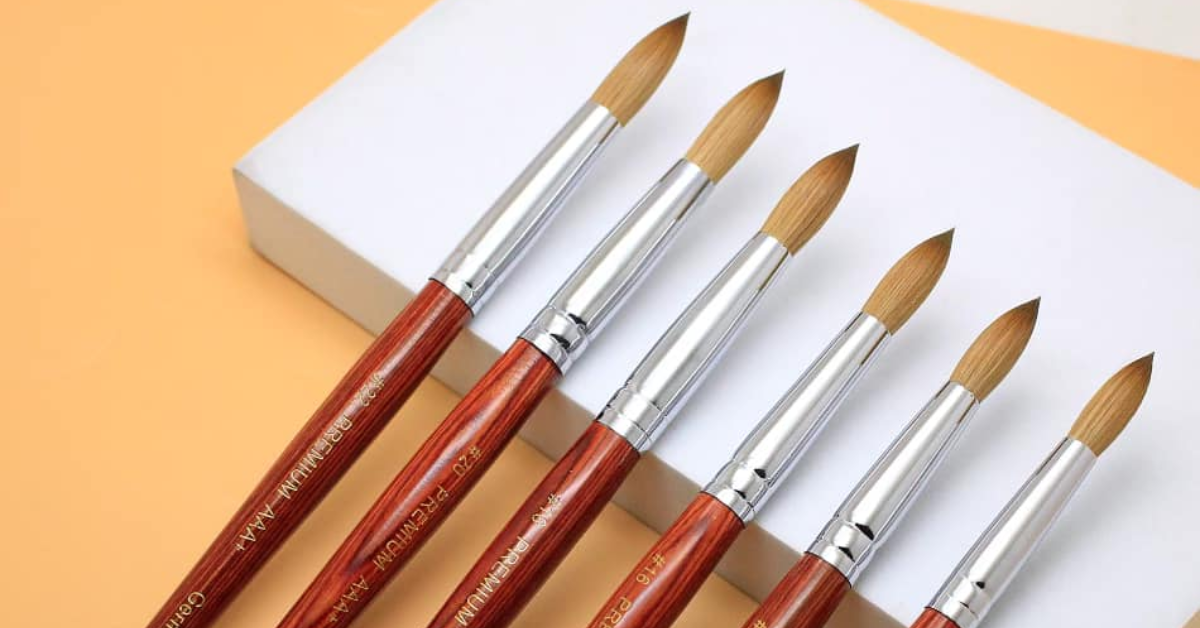
Acrylic nails are a staple in the world of nail art, offering both versatility and durability. But for professionals and DIY enthusiasts alike, keeping your tools in top shape is essential to maintaining quality results. One of the most important tools in your kit is the acrylic nail brush. Knowing how to clean acrylic nail brushes properly will extend their life and ensure smooth, flawless application every time. In this guide, we’ll walk you through five simple steps to keep your brushes clean and ready for use.
Essential Tools for Cleaning Acrylic Nail Brushes
Before diving into the cleaning process, it’s important to gather the right tools to get the job done effectively. Here’s what you’ll need:
- A clean dampen dish or small glass container
- High-quality brush cleaner or monomer
- Lint-free cloth or paper towel
- A clean towel for drying
- Optional: a soft brush to remove excess powder or polish
These tools will help ensure that no residue remains on your brushes, which could otherwise harden and damage the bristles over time.
Step-by-Step Guide to Properly Clean Your Acrylic Nail Brushes
To maintain your acrylic nail brushes in top condition, follow these five simple steps:
1. Rinse with Monomer or Brush Cleaner
Start by rinsing your brush in a monomer or professional brush cleaner. Avoid using acetone as it can dry out the bristles and cause them to become stiff. Place a small amount of monomer or cleaner in a dappen dish, and gently swirl the brush to loosen any hardened product.
2. Wipe the Brush on a Lint-Free Cloth
After soaking the brush, gently wipe the bristles on a lint-free cloth or paper towel. Be careful not to tug on the bristles, as this can damage them. The goal is to remove excess product without losing the shape of the brush. Repeat this process until the brush is visibly clean.
3. Gently Reshape the Bristles
Once the brush is clean, use your fingers to gently reshape the bristles. This is especially important for Kolinsky brushes, as maintaining their shape will preserve their performance. A well-shaped brush ensures that your best acrylic powder will be applied smoothly and without streaks.
4. Allow the Brush to Dry
Lay the brush flat on a clean towel, allowing the bristles to air dry naturally. Avoid placing the brush upright while wet, as moisture can seep into the ferrule (the metal part holding the bristles), which can weaken the glue and cause shedding.
5. Store Properly
Once your brush is completely dry, store it in a protective case or upright in a brush holder to prevent it from getting bent or damaged. Keeping your tools in the right condition is key to consistently achieving professional results, whether you’re working with acrylics or nail polishes.
Conclusion
Cleaning your acrylic nail brushes may seem like a small step, but it’s crucial to ensure a long-lasting, flawless manicure. By taking the time to properly care for your brushes, you’ll not only extend their life but also improve the quality of your nail art. Whether you’re a professional or a home enthusiast, knowing how to clean acrylic nail brushes can make all the difference in the end result of your work.
Stay in touch to get more updates & alerts on Anonib! Thank you


